The Ultimate Shortcut to Homemade Pizza Perfection: Your Bread Machine Does the Work
Pizza night is a cherished tradition in countless homes, a culinary canvas waiting for your favorite flavors. While the allure of freshly baked pizza is undeniable, the thought of wrestling with sticky dough, endless kneading, and the finicky proofing process can often relegate the dream of homemade pizza to a restaurant order. But what if we told you there's a simple, effortless way to achieve that perfect, fluffy, and flavorful crust right in your own kitchen? The secret lies with your trusty bread machine, turning the daunting task of making pizza dough into a walk in the park. Get ready to transform your pizza nights with delicious,
homemade bread machine pizza dough!
Why Your Bread Machine is a Pizza Dough Game-Changer
For many, the bread machine has been a revelation for baking various loaves, but its true genius extends to dough making. When it comes to
achieving fluffy, flavorful pizza crust with bread machine dough, this appliance is a total game-changer. It takes care of all the heavy lifting, quite literally:
- Effortless Kneading: Say goodbye to flour-dusted countertops and aching arms. Your bread machine's powerful paddle kneads the dough to perfection, developing the gluten structure needed for an airy, chewy crust.
- Optimal Proofing: Yeast thrives in a warm, consistent environment. Most bread machines offer a "dough" or "pizza dough" cycle that maintains the ideal temperature for the dough to rise beautifully, resulting in a light and airy texture.
- Hands-Off Convenience: This is perhaps the biggest draw. Simply add your ingredients, select the appropriate cycle, and walk away. The machine handles everything from mixing to the first rise, freeing you up to prepare toppings, spend time with family, or simply relax.
- Consistency Every Time: Remove the guesswork from baking. The bread machine provides a controlled environment, ensuring consistent results whether you're making a thin crust, a hearty pan pizza, or a deep-dish delight.
Whether you’re a seasoned baker or a complete novice, leveraging your bread machine for *homemade bread machine pizza dough* simplifies the process immensely, making scratch-made pizza accessible to everyone.
Crafting Your Ideal Homemade Bread Machine Pizza Dough
The beauty of making pizza dough in a bread machine starts with a few simple ingredients and a very straightforward process. The key to success often lies in the quality of your ingredients and the order in which you add them to the machine.
Ingredient Deep Dive for Optimal Dough
While you might be tempted to just toss everything in, a little understanding goes a long way:
- Water: The foundation of your dough. Use lukewarm water (around 105-115°F or 40-46°C) to gently activate the yeast without shocking or killing it.
- Olive Oil: Essential for flavor, richness, and contributing to a tender, slightly crispy crust. A good quality extra virgin olive oil can make a subtle but noticeable difference.
- Flour: This is where you can truly influence your crust's final texture.
- All-Purpose Flour: Perfectly fine and will yield a delicious, sturdy dough. It's a reliable choice if that's what you have on hand.
- Bread Flour: Highly recommended for superior results. Bread flour has a higher protein content than all-purpose flour, which leads to better gluten development. This extra protein creates a dough with more elasticity, resulting in an airier, lighter texture and an extra "lift" that's hard to beat. If you want a professional-tasting crust, opt for bread flour.
- Sugar: A small amount of sugar acts as food for the yeast, helping it activate and rise effectively. It also contributes to the beautiful golden-brown color of your baked crust.
- Salt: Crucial for flavor and also plays a role in regulating yeast activity. Don't skip it!
- Yeast: The magical leavening agent. Ensure your yeast is fresh and active. Typically, active dry yeast or instant yeast works perfectly in a bread machine.
The Bread Machine Process: Layering for Success
The general rule of thumb for bread machine dough is to add liquids first, followed by dry ingredients, with the yeast placed last, typically in a small well on top of the flour, away from direct contact with salt and sugar until mixing begins. This prevents premature activation or inhibition of the yeast.
1.
Add Liquids: Pour the water and olive oil into the bread machine pan.
2.
Add Dry Ingredients: Carefully add the flour, ensuring it covers the liquids. Then, sprinkle the sugar and salt over the flour.
3.
Add Yeast: Make a small indentation in the center of the flour (don't let it touch the liquids) and add the yeast.
4.
Program & Start: Select the "Dough" or "Pizza Dough" cycle on your bread machine. These cycles typically take between 45 to 90 minutes, depending on your machine model. This cycle will mix, knead, and complete the first rise.
While a stand mixer can also achieve similar results (kneading for 10 minutes and allowing 1-2 hours for rising), the bread machine offers unparalleled convenience. You literally set it and forget it, returning to a perfectly risen, ready-to-use dough.
From Puffy Dough to Irresistible Pizza
Once your bread machine signals the completion of its dough cycle, you’ll be greeted with a beautifully puffy, elastic ball of *homemade bread machine pizza dough*. Now, the real fun begins: transforming it into a masterpiece!
Preparing and Pre-Baking Your Crust
1.
Prep Your Pan: Lightly oil a rimmed baking sheet, pizza pan, or deep-dish skillet. A little cornmeal can also be sprinkled for extra crispiness and to prevent sticking.
2.
Stretch the Dough: Gently remove the dough from the bread machine pan. On a lightly floured surface, or directly on your oiled pan, carefully stretch or press the dough to your desired thickness and shape. For a thin crust, stretch it as wide as possible without tearing. For a thicker, pan-style pizza, allow it to remain a bit more compact. Don't be afraid to gently work with it; the elasticity from the bread machine's kneading makes it quite forgiving.
3.
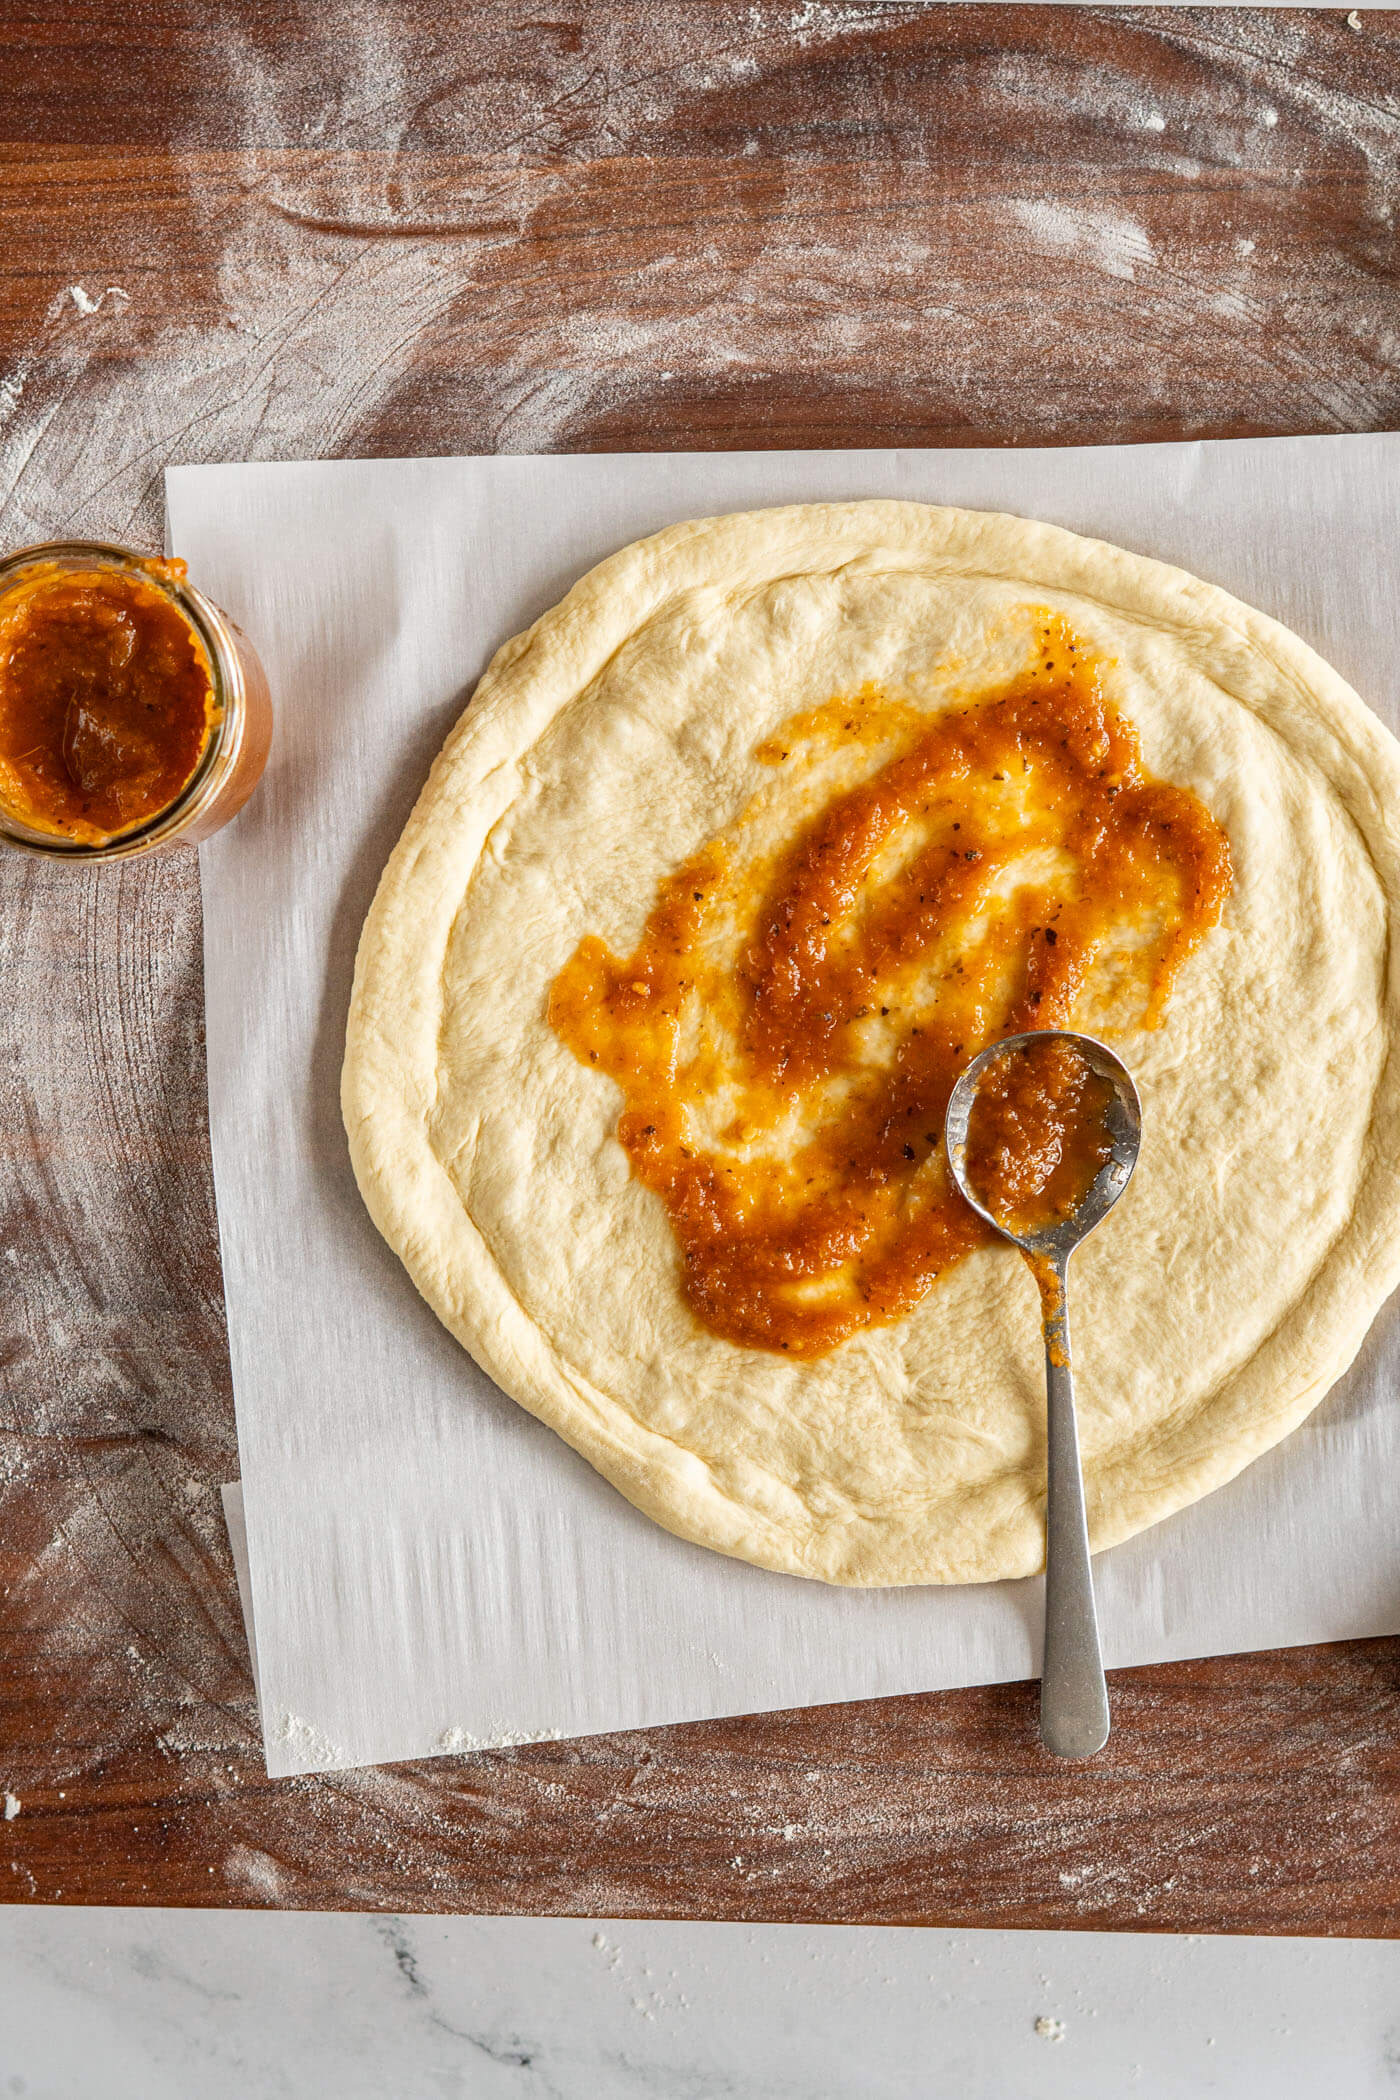
The Crucial Pre-Bake: This step is often overlooked but is absolutely vital for a superior homemade pizza. Bake the naked crust in a preheated 425°F (220°C) oven for 5 minutes.
*
Why pre-bake? It gives the dough a head start on cooking, preventing a soggy bottom from wet toppings. It also ensures the crust cooks through evenly with the toppings, which tend to cook much faster (like melting cheese). This initial bake locks in the structure and provides a crispier foundation.
Topping Your Creation: Unleash Your Inner Pizzaiolo
Once your crust has had its initial bake, pull it out of the oven, and now it's time to layer on your favorite toppings. This is where your creativity truly shines!
*
Classic Combos: For a simple yet satisfying meal, spread a robust marinara sauce, sprinkle with shredded mozzarella, and add your choice of pepperoni, sliced mushrooms, or savory Canadian bacon. This classic approach works wonderfully on any white or wheat crust.
*
Herbaceous & Fresh: Start with a basil-Parmesan crust base. Top with vibrant green bell peppers, thinly sliced red onion, fresh tomato slices, and plenty of shredded mozzarella for a garden-fresh delight.
*
Taco Tuesday Meets Pizza Night: For a truly unique experience, swap traditional pizza sauce for a zesty taco sauce. Layer with seasoned cooked ground beef, diced onion, green bell pepper, and a generous amount of cheddar cheese. Bake as usual, and *just before serving*, pile high with shredded lettuce and chopped fresh tomatoes for a burst of coolness and crunch.
*
Beyond the Basics: Don't limit yourself! Consider BBQ chicken pizza with red onion, white sauce pizzas with spinach and ricotta, or a gourmet medley of roasted vegetables and goat cheese. The sky's the limit when you have a perfect crust ready to go.
After topping, return your pizza to the 425°F (220°C) oven for another 10-15 minutes, or until the cheese is melted and bubbly, and the crust is golden brown.
Beyond the Pizza Pan: Creative Uses & Storage Tips
The versatility of your *homemade bread machine pizza dough* extends far beyond just a circular pizza. This same dough can be adapted for a multitude of delicious bakes:
*
Calzones and Strombolis: Fill with your favorite pizza ingredients, fold, seal, and bake for a portable, cheesy delight.
*
Garlic Knots or Breadsticks: Roll out the dough, cut into strips, twist, tie into knots, or simply bake as sticks. Brush with melted garlic butter and herbs for an irresistible side.
*
Focaccia or Flatbreads: Press into a rectangular pan, dimple with your fingers, drizzle with olive oil, sprinkle with sea salt and rosemary, and bake for an aromatic bread perfect for dipping.
This adaptable dough truly allows you to
master bread machine pizza dough for any crust & topping, opening up a world of culinary possibilities. If you're focusing on achieving the perfect texture, remember that practices outlined in "
Achieve Fluffy, Flavorful Pizza Crust with Bread Machine Dough" will guide you to consistently great results.
Storage and Leftovers
*
Refrigerating Leftovers: Any leftover pizza can be stored, wrapped tightly, in the refrigerator for up to 48 hours. Reheat in an oven or air fryer for best results, ensuring the crust crisps up again.
*
Making Dough Ahead: If you're a planner, you can prepare the dough in your bread machine, then lightly oil it, place it in an airtight container, and refrigerate for up to a day or two for a slow, flavorful rise. Let it come to room temperature for 30-60 minutes before stretching. You can even freeze portions of the dough for longer storage; just be sure to defrost slowly in the refrigerator overnight before use.
Making your own pizza dough with a bread machine is a simple pleasure that brings significant rewards. It's cost-effective, allows for complete control over ingredients, and, most importantly, results in a fresh, delicious pizza that tastes infinitely better than store-bought. So, pull out your bread machine, gather your ingredients, and get ready to enjoy the effortless joy of homemade pizza. Your Friday nights (or any night!) will never be the same.